LAST 48 HOURS: SAVE UP TO 25% OFF WHEN YOU BUY 3, GET 1 FREE | FREE US SHIPPING ON ORDERS $35+


How To Apply False Lashes: 5 Step Guide For Beginners
We get it—applying false lashes can be a bit intimidating. So, we've made it super easy with our 5-step guide to help you apply lashes like a pro in no time!
The Tools You'll Need:
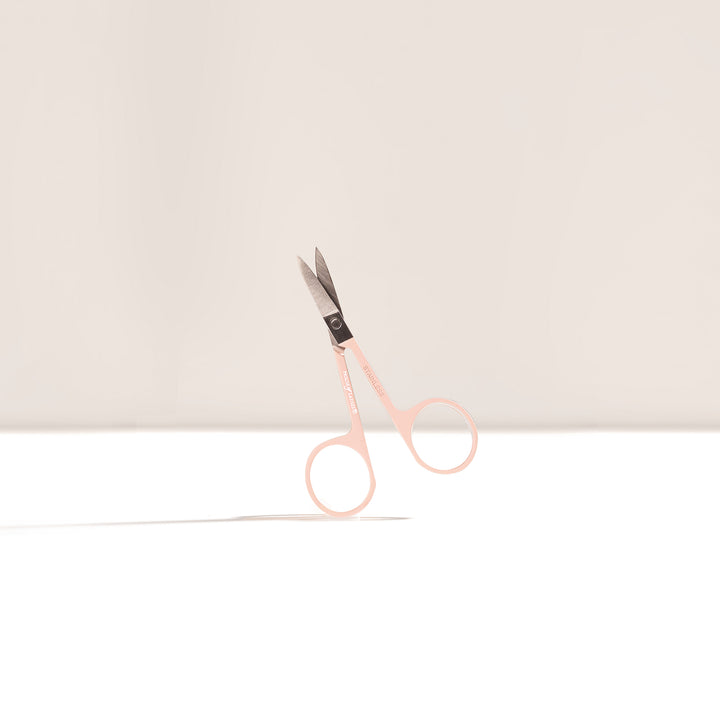
Flawless Precision Scissors
$10.00
Customize your lash fit with soft-touch, easy-grip scissors designed for smooth, precise cuts on any lash band.… read more
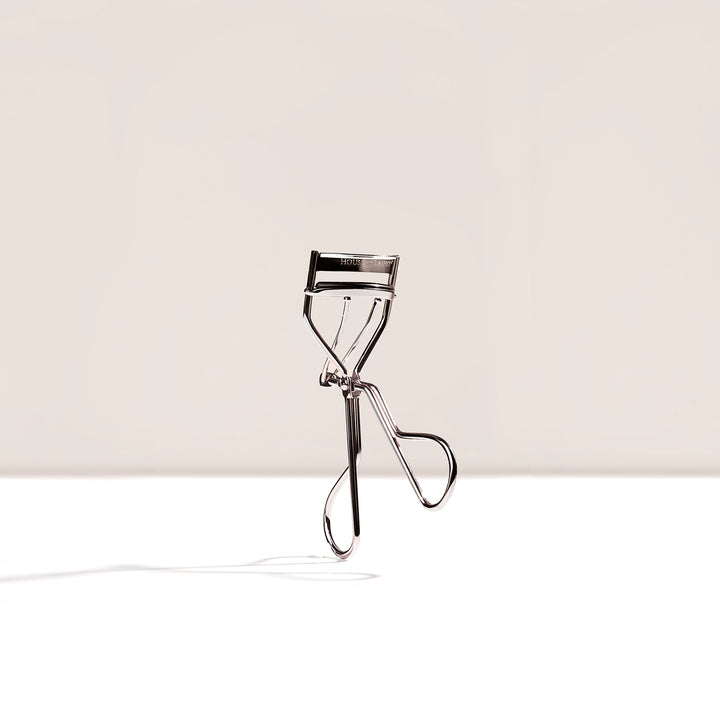
Flawless Precision Lash Curler
$7.00
$14.00
A lightweight, non-spring lash curler that lifts and curls lashes with controlled gentle pressure for a fuller, eye-opening effect that lasts all day. *This eyelash curler comes with an extra easy-to-clean replacement silicone cushion pad.… read more
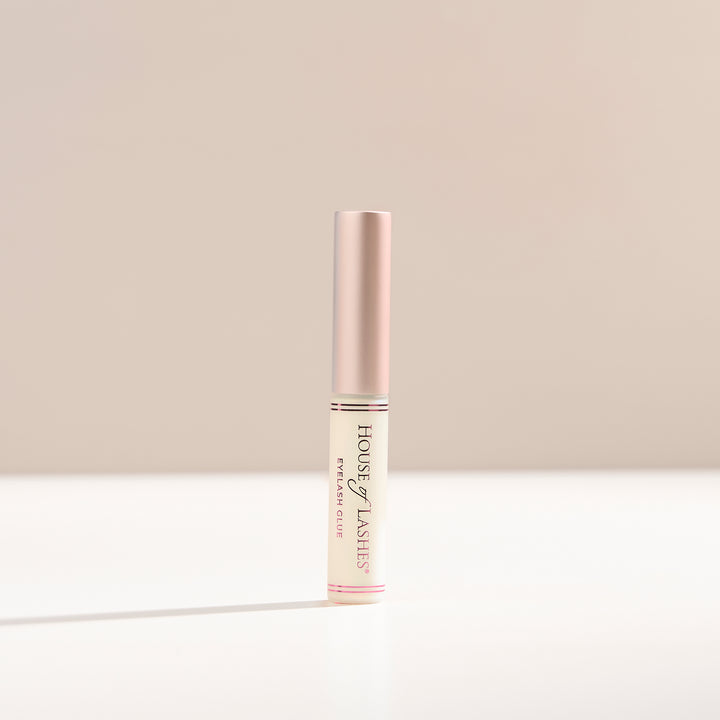
HOL® Clear Lash Glue
$10.00
A latex-free, waterproof false eyelash glue with 24-hour long wear and a precision brush-tip applicator for fast, easy, and mess-free application. Applies white and dries clear for a seamless blend. … read more
Flawless Precision Applicator
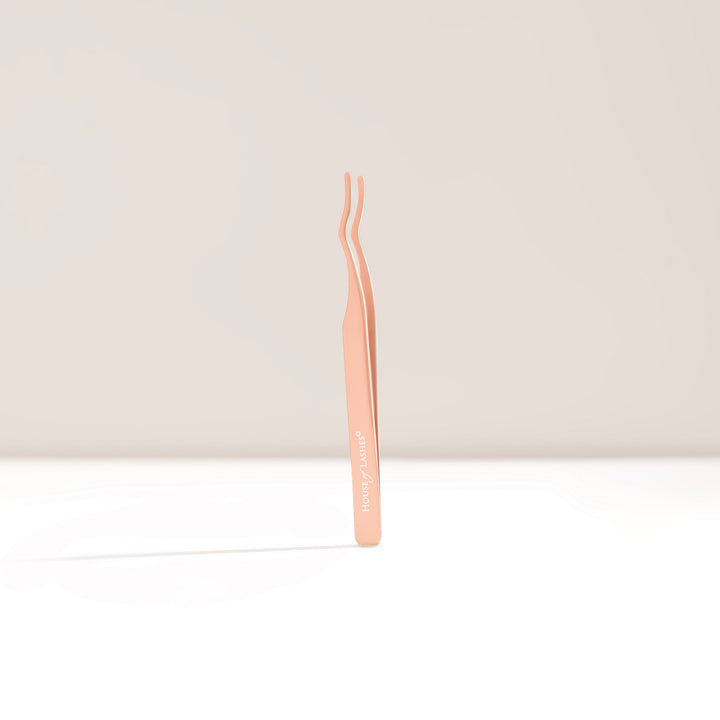
$14.00
A lash applicator with a precision curved tip, designed with a soft-touch grip and guide false lashes into place, ideal for beginners, and made to resist lash glue buildup.… read more
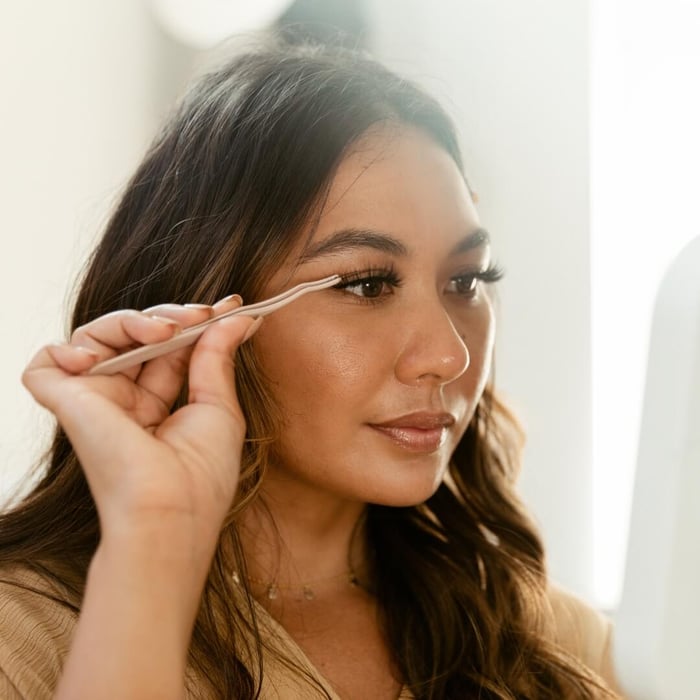
Step 1: Trim & Measure
Start by carefully removing the false lash from the lash tray. Hold the false lash up to your natural lash line using your fingers or the Flawless Precision Applicator. This way, you can check if it fits comfortably or needs trimming. If the outer corner droops off your eye, trim the false lash using the Flawless Precision Scissor. When you trim the lash band, ONLY trim from the outer corners to preserve the shape and style of the lash.
If you're unsure how much to trim, we recommend using our Lash Ruler. Our Lash Ruler makes it easy to measure your eye length, so you can trim your lashes to fit properly.
Step 2: Curl
Before applying mascara, use our Flawless Precision Lash Curler to curl your natural lashes. This lash curler will lift even the most stubborn lashes to their maximum height. Then apply one coat of your favorite mascara to your natural lashes. Applying mascara before you have your false lashes on will prevent product build-up and can extend the wear.
Step 3: Bend
Gently bend the false lash into a 'U' shape. This helps the false lash mold to the natural curve of your eyelid. Bending the false lash also prevents it from poking your eye or lifting at the corners.
Step 4: Glue
We have two types of lash glue: Brush-On Lash Adhesive and Eyeliner Adhesive. If you’ve got the basics down and want something for when you are in a hurry and need touch-ups throughout the day, you would love our Lash & Dash® Glue Liner. If you're a lash beginner, we suggest trying our award-winning HOL® Clear Lash Glue. This glue comes in a unique bottle with a brush-on applicator for easy and precise application. The formula is latex-free, water-resistant, and for those who wear contacts.
To apply the HOL® Clear Lash Glue, first, brush on a thin coat of the glue across the lash band. Wait 30-40 seconds for the glue to get tacky. This will make the application process much easier. The formula applies white but dries clear, so no need to worry if it takes a few tries to get it right.
Step 5: Apply
Last step you are almost there! It’s time to apply the false lash. Use the Flawless Precision Applicator to pick up the false lash and place the lash strip onto the center of your lash line while looking slightly downwards. Adjust the inner and outer corners using your fingers or the applicator. If you see a gap between the lash band and your natural lash line, gently pinch them together for a seamless blend. And just like that, you’ve conquered applying false lashes!